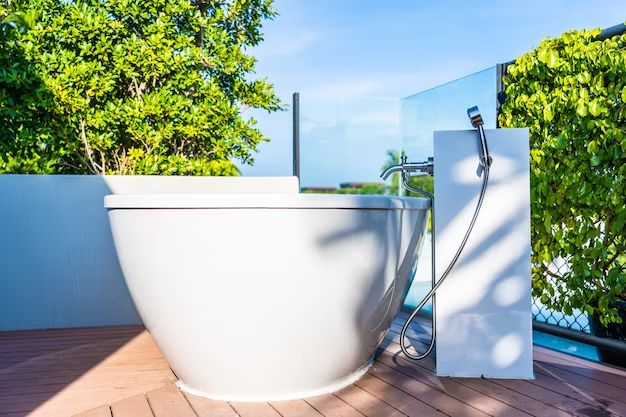
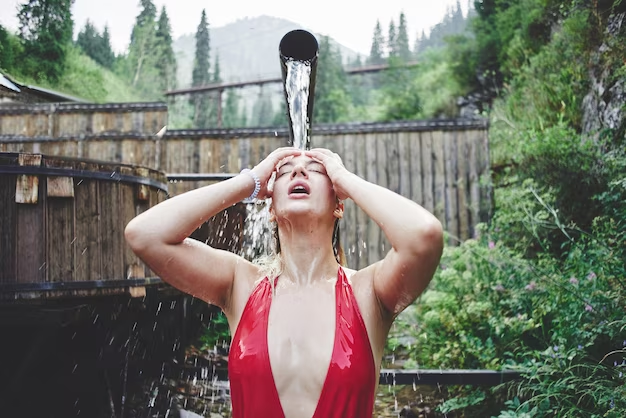
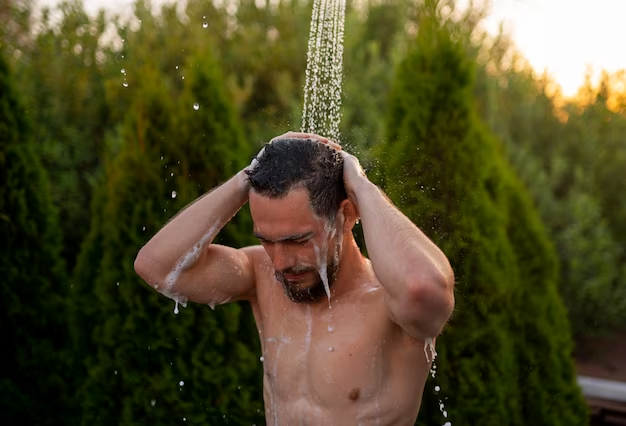
Installing an outdoor shower with hot water can elevate your backyard into a private oasis, combining the invigorating experience of showering in the open air with the comfort of temperature-controlled water. Not only does an outdoor shower serve as a convenient rinse-off spot for swimmers and gardeners, but it also enhances the overall value of your home. But now you might wonder, “how much does it cost to build an outdoor shower?” The answer depends on the complexity of your design and the materials you choose. This guide will cover the detailed steps to plan, prepare, and install your outdoor shower, ensuring you can enjoy both the refreshing coolness on a hot summer day and the soothing warmth when the temperature dips.
Planning Your Outdoor Shower Installation
Before breaking ground on your outdoor shower, thorough planning is essential. The initial phase involves meticulous consideration of several critical factors that will influence the design and functionality of your shower. These considerations ensure your installation process is streamlined and future-proof.
Choosing the Location:
The ideal spot for your shower should be within a reasonable distance from your home’s water supply to minimize the complexity of plumbing and costs. Simultaneously, consider how to drain an outdoor shower and opt for an area with natural drainage or the potential to install an outdoor shower drainage system, which is a must for proper maintenance and environmental protection. Privacy is also a big concern – you’ll want to choose a spot that is secluded or can be easily shielded from view with enclosures or landscaping.
Selecting the Right Shower for Your Needs:
When learning how to make an outdoor shower with hot water, deciding between a wall-mounted or freestanding shower based on your preferences and space constraints is an important step. Next, evaluate the various materials available such as stainless steel for durability or wood for a more natural look. Each material has its own maintenance needs and aesthetic appeal.
Required Tools and Materials
Before you get started, gathering the right tools and materials is mandatory. Here’s a table that outlines what you’ll need:
| Tools | Materials |
|---|---|
| Adjustable wrench | Piping (copper or PVC) |
| Tape measure | Shower fixtures and valves |
| Pipe cutter | Tankless water heater (if needed) |
| Level | Concrete mix (for base) |
| Screwdriver set | Gravel (for drainage) |
| Shovel | Tiles or decking (for the enclosure) |
Now, let’s delve deeper into the plumber’s haven of tools and materials. You’ll need a solid adjustable wrench for tightening connections, a tape measure for precise fittings, a pipe cutter to cut through piping cleanly, and a level to ensure everything is perfectly horizontal or vertical.
The Installation Process
Commencing the installation process involves systematically approaching the setup starting from the essential utilities to forming the structure. It’s where your planning phase transitions into tangible results, and while managing these tasks, it’s crucial to keep the outdoor shower installation cost in mind.
Setting Up the Water Supply:
The cornerstone of a hot-water outdoor shower is having access to hot water itself. If you have a hot water line outside, you can tap into that; otherwise, a tankless water heater is a suitable option for instant and continuous hot water. Ensure you adhere to any local regulations and building codes when you handle the water supply lines.
Laying the Plumbing Paths:
Depending on your selection of a hot water system and the proximity to your main water supply, you will need to lay the pipes accordingly. Remember to maintain a slope for drainage, insulate pipes that may be exposed to the cold, and ensure all your fixtures align with your design plans.
Building the Shower Structure
The structure of your outdoor shower should be both functional and aesthetic. It serves as the backbone of your outdoor setup.
Constructing the Base and Walls:
A flat, stable surface such as concrete or wooden decking is crucial for the foundation. Ensure the ground is level before pouring concrete or laying down any other base material. Build up walls or a simple enclosure to ensure privacy and to protect your shower from the elements.
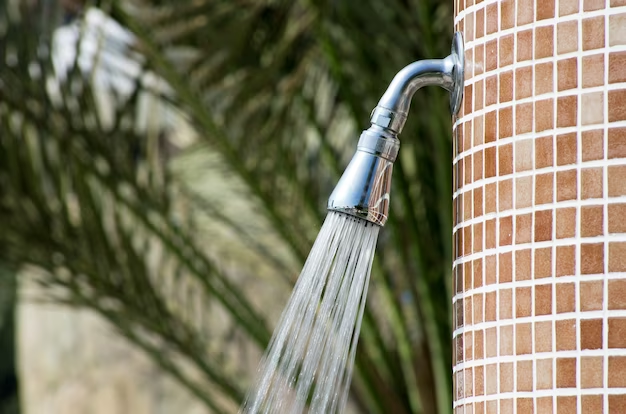
Mounting the Shower Fixtures:
Once the base is set and cured, you can install the shower fixtures. Pay careful attention to the height of showerheads and faucets, and follow manufacturer instructions for sealing and waterproofing all connections.
With these steps outlined, the vision of your perfect outdoor hot water shower begins to materialize. The ease of installation will largely depend on the existing infrastructure of your home and how elaborate your plans are.
Finalizing the Outdoor Shower Setup
Once the primary structure and plumbing are in place, a few additional steps will ensure that your outdoor shower offers both performance and longevity.
Waterproofing and Drainage
A reliable outdoor shower drainage system is vital not just to prevent water from pooling around the base but also to avoid any potential water damage to your property. Use a mixture of gravel and a drainage pit, or connect to your home’s sewer system with proper plumbing, if local regulations allow. Waterproofing is also crucial—the use of silicon sealants around your fixtures can help to mitigate any water damage.
Testing and Troubleshooting
This stage is all about making sure everything works as it should. Turn on the water and look for any leaks in the connections; these should be promptly tightened or resealed. Additionally, test the temperature to ensure that the hot water is flowing correctly. The troubleshooting process may involve adjusting the tankless water heater settings or checking the mixer valve for proper operation.
Enhancing Your Outdoor Shower Experience
With the functional aspects taken care of, it’s time to turn attention to the details that make your outdoor shower truly enjoyable.
Privacy and Aesthetic Touches
For many, privacy is a key concern. Consider installing shower panels, a curtain, or building an enclosure with a door. Adding plants or bamboo screens can also create a more secluded environment and add to the aesthetic value of the outdoor shower.
Maintenance and Upkeep
Maintaining an outdoor shower is relatively straightforward, but regular checks are important to avoid long-term issues. Clean the showerhead and faucets to prevent clogs, treat wooden surfaces to avoid deterioration, and inspect the heater and plumbing before the onset of colder weather.
Conclusion
Creating an outdoor shower with hot water is a project that can add a touch of luxury to your outdoor living space. It requires a bit of planning, the right tools, and some elbow grease, but the result is a rewarding addition to your home. Now that you’ve learned how to install an outdoor shower with hot water, you can look forward to countless moments of relaxation and enjoyment.
FAQs
1. What are some common challenges when installing an outdoor shower with hot water?
- Ensuring you have access to both hot and cold water lines.
- Handling the plumbing requirements, which can include trenching and pipe positioning.
- Complying with local building codes and regulations concerning water usage and drainage.
- Incorporating weather-resistant materials to withstand various outdoor conditions.
- Establishing proper privacy measures without compromising the aesthetics of the space.
2. Can I install an outdoor shower without professional help?
It is possible to install an outdoor shower without professional help if you have basic plumbing knowledge and the right tools. However, for more complex setups, particularly when it comes to connecting hot water and ensuring a proper outdoor shower drainage system, professional expertise might be beneficial to ensure everything is installed safely and up to code.
3. How do I ensure my outdoor shower is environmentally friendly?
- Use a low-flow showerhead to conserve water.
- Heat water efficiently using a solar water heater or a tankless heater.
- Ensure soaps and shampoos used are biodegradable.
- Direct greywater into garden beds or a proper greywater system if allowed by local laws.
4. What are the best materials to use for durability and weather resistance?
- Stainless steel or brass fixtures that resist corrosion.
- Non-porous tiles or sealed wood for the floor and enclosure surfaces to prevent water damage.
- Composite materials or specially treated wood that resist rot and mildew.
5. How often should I perform maintenance on my outdoor shower?
- Inspect the shower seasonally, especially before winter.
- Clean the showerhead and fixtures every few months to prevent buildup.
- Treat wood and metal surfaces annually to protect from the elements.
- Check the plumbing regularly for any leaks or corrosion.