In our tech-driven world, remote controls have become indispensable gadgets that allow us to enjoy our favorite shows, manage smart home devices, and control sound systems with just a click. However, despite their frequent use, many people overlook the importance of keeping these devices clean. It’s not just about aesthetics; cleaning your remote control plays a significant role in maintaining hygiene and ensuring longevity. Think about how often you touch your remote with dirty hands or while munching on snacks. The buttons can easily become caked with grime, and the surfaces can harbor bacteria. Therefore, taking a little time to clean your remote control can lead to a vastly improved experience and a healthier environment.
Cleaning your remote control doesn’t need to be a daunting task. With the right approach and tools, you can have your remote looking and functioning like new in no time. The first requirement is to gather some essential supplies before diving into the cleaning process. This preparation ensures that you won’t have to interrupt your cleaning spree to search for missing items. Let’s delve into the necessary supplies and effective methods for cleaning your remote control.
Gather Your Cleaning Supplies

Before you embark on your cleaning journey, it’s crucial to have all the necessary tools at your disposal. Gathering these supplies will make the process more efficient and reduce the chances of overlooking important steps. Below is a list of essential cleaning supplies you’ll need:
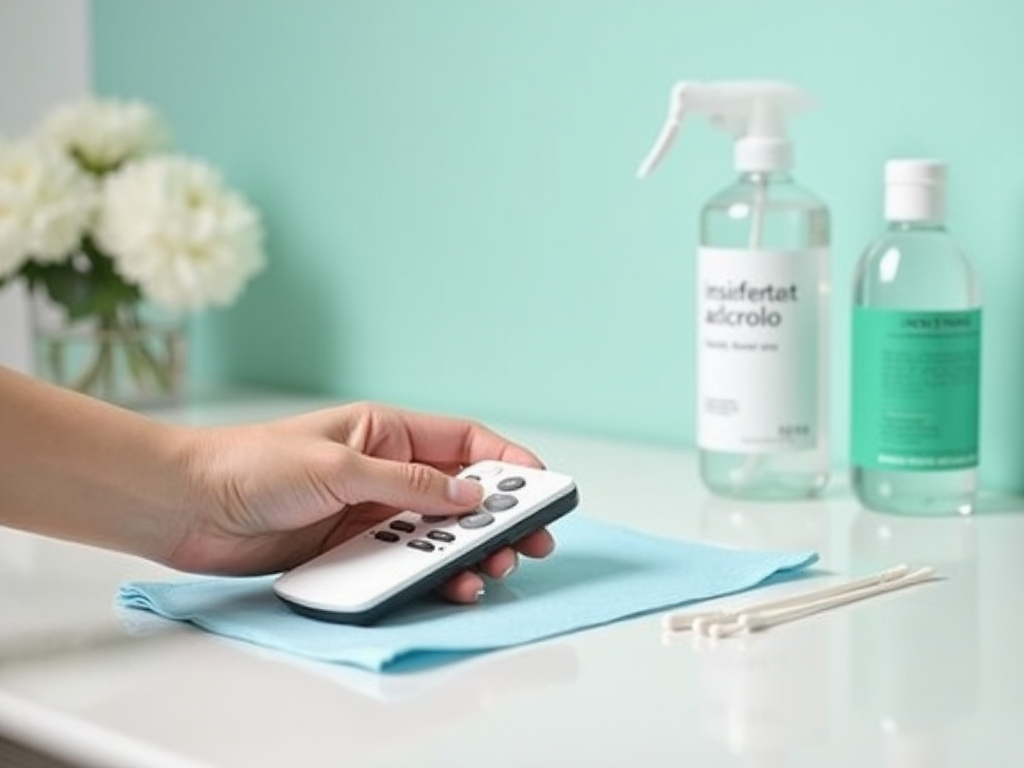
- Isopropyl alcohol or disinfectant wipes
- Cotton swabs or a soft, lint-free cloth
- A small bowl or container for screws
- A screwdriver (if necessary for disassembly)
These items are relatively common and can usually be found in most households. Using quality disinfectants can ensure that you not only clean but also sanitize the remote, making it safe to use again. Now that you have everything ready, it’s time to follow a comprehensive guide to clean your remote control effectively.
Step-by-Step Guide to Cleaning Your Remote Control

Preparing the Remote Control
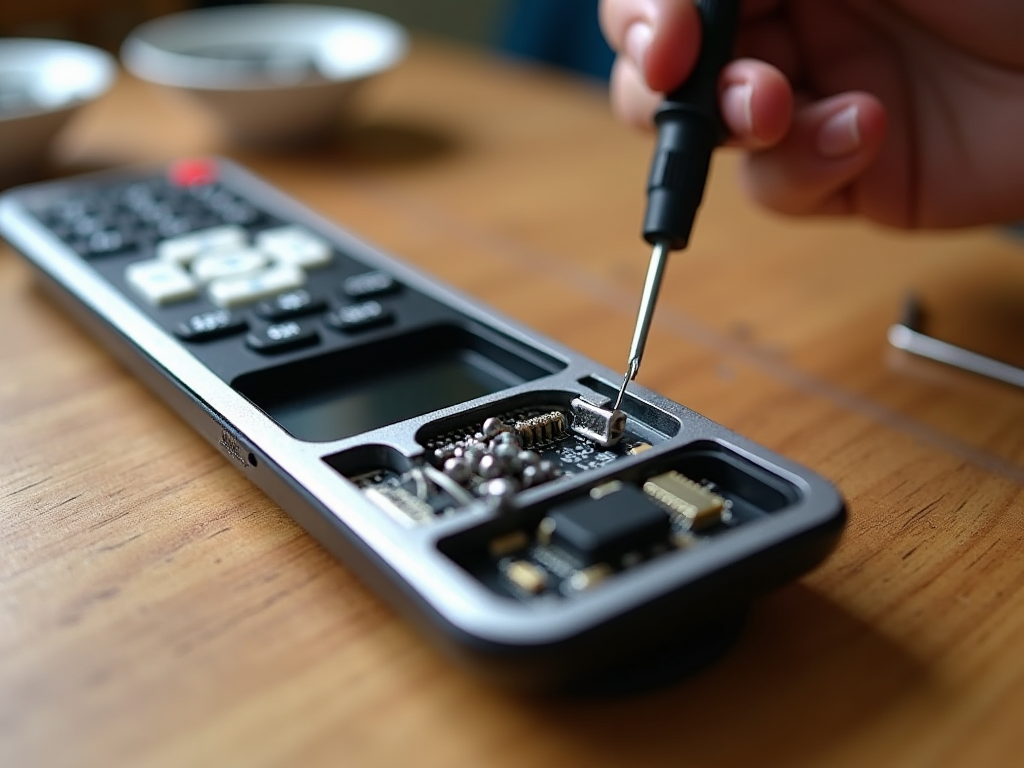
Start by powering off your remote and removing the batteries. This precautionary measure is crucial for both safety and functionality as it prevents accidental operations while cleaning. If your remote is heavily soiled, consider disassembling it for a thorough clean. Carefully use a screwdriver to remove the screws, and place them in a small bowl to avoid losing them. Disassembly isn’t always necessary but can be handy if there’s visible debris inside.
Cleaning the Exterior
Wiping down the exterior of your remote is the first step in ensuring it’s clean and germ-free. Using a soft cloth or disinfectant wipes, carefully clean the outer surfaces. Pay special attention to the buttons, as they tend to attract dirt, oils, and bacteria. Avoid soaking the cloth or wipe to prevent moisture from seeping inside the remote. This step helps eliminate the most visible dirt, making it look fresher instantly.
Cleaning the Interior Components
Once the exterior is clean, it’s time to inspect the interior components. If you’ve disassembled the remote, take a good look inside. You may notice dust and debris on the circuit board or around the buttons. Use a cotton swab dipped in isopropyl alcohol to gently clean these areas. This not only helps with cleanliness but also ensures the remote operates smoothly without sticky buttons or connections.
| Cleaning Steps | Description |
|---|---|
| Power Off | Switch off your remote and remove batteries for safety. |
| Wipe Down | Use disinfectant wipes to clean the exterior. |
| Inspect Interior | Check for dust and debris once disassembled. |
| Test Functionality | Reassemble the remote and test after cleaning. |
Reassembling and Testing
After you’ve thoroughly cleaned both the exterior and interior, it’s time to reassemble your remote control. Carefully put the pieces back together, ensuring that all screws are secured tightly. Place the batteries back into their designated slots, and power on the remote. This final step is crucial—testing the remote ensures that everything is functioning correctly and there are no lingering issues.
Tips for Maintaining a Clean Remote Control
Once you’ve cleaned your remote, you might wonder how to maintain its cleanliness in the long run. Regular maintenance not only keeps your remote looking good but also helps prevent the build-up of germs and dirt in the future. Here are some tips and tricks:
- Regular Wipe Downs: Make it a habit to wipe your remote down weekly to keep it in pristine condition.
- Storage Solutions: Store your remote in a clean and designated spot to avoid excessive dust accumulation.
- Limit Food and Drink Nearby: Try to keep snacks and beverages away from your remote to reduce spills and crumbs which can make cleaning harder.
By following these simple tips, you’ll ensure that your remote control remains clean and functional for years to come.
Conclusion
Cleaning your remote control is a straightforward yet essential task that enhances both hygiene and performance. By following the steps outlined above, you can ensure that your remote not only looks good but also operates efficiently. Regular cleaning and maintenance can make a significant difference in your overall experience. The next time you reach for your remote, you’ll be glad you put in the effort to keep it clean and safe for use.
Frequently Asked Questions
- How often should I clean my remote control? It’s recommended to clean your remote control weekly, especially if it’s frequently used.
- Can I use water to clean my remote? It’s best to avoid using water. Instead, use isopropyl alcohol or disinfectant wipes to prevent moisture damage.
- What should I do if my remote control stops working after cleaning? Recheck the assembly to ensure everything is tightly secured, and make sure the batteries are installed correctly.
- Is it safe to use household cleaners on my remote control? Avoid using harsh household cleaners as they can damage the remote’s surface. Stick to isopropyl alcohol or specialized electronics cleaners.


