It’s easy to overlook the toilet in our homes, often treating it as just another functional fixture. However, a stable toilet is vital not only for everyday convenience but also for maintaining the overall hygiene and safety of your space. An unstable toilet can lead to various complications, including leaks that may damage your flooring and create health hazards by fostering mold and mildew growth. Therefore, understanding how to properly inspect your toilet for stability can save you time, money, and unnecessary headaches. This guide will walk you through the essential steps to ensure your toilet is safe and secure.
The process of inspection and stabilization is straightforward and rewarding. By following this DIY guide, you’ll gain the knowledge to identify issues early and implement effective fixes. This not only enhances the longevity of your toilet but also contributes to a healthier living environment. So, let’s delve into the reasons why stability matters in the first place and how you can effectively determine the stability of your toilet.
Why Stability Matters

In any household, the stability of your toilet is an often-neglected aspect of home maintenance. A toilet that is not securely anchored can lead to significant challenges, both structurally and health-wise. These potential damages underscore the importance of regular inspections and prompt actions to correct any instability you might encounter.
Potential Damage
An unstable toilet can lead to several types of damage that may require costly repairs. Cracks in the porcelain can occur due to excessive movement, indicating that the toilet isn’t properly secured to the floor. This not only compromises the integrity of the toilet itself but can also create a risk for water leaks. Additionally, the flooring around the toilet may get damaged from persistent moisture, leading to wood rot or tile warping. This kind of damage is often expensive to repair and can extend beyond what is readily visible. Hence, preventing this should be priority one.
Health Concerns
Beyond structural damage, the ripple effects of an unstable toilet can pose significant health risks. Water leaks and moisture accumulation around the base can lead to mold and mildew growth, which directly affects indoor air quality and may trigger allergic reactions and respiratory issues. Moreover, stagnant water can provide a breeding ground for harmful bacteria. Therefore, ensuring your toilet remains stable not only protects your home but also safeguards the health of everyone in it.
Signs of an Unstable Toilet

It’s essential to be aware of the signs that indicate a toilet may be unstable. Regular inspections can help identify these issues before they escalate into more serious problems. Here are some common indicators you should watch for:
- Wobbling: A noticeable movement when you sit down is a clear sign that something is amiss.
- Gaps Between the Toilet Base and the Floor: Any visible space can indicate that the seal has broken, or the toilet is not flush with the surface.
- Water Pooling: If you notice water accumulating around the base, it may suggest a leak that needs immediate attention.
| Indicator | Description |
|---|---|
| Wobbling | Movement when using the toilet. |
| Gaps | Visible spaces between the base and floor. |
| Pooling water | Signs of leaks around the toilet base. |
Tools and Materials You Will Need
Before starting your inspection, gather the necessary tools and materials. Having everything on hand will make the process smoother and more efficient. Here’s a handy list to help you prepare:
- Adjustable wrench
- Level
- Toilet shims
- Caulk and caulking gun
- Towel
Step-by-Step Inspection Process
To effectively inspect your toilet, follow these outlined steps carefully, ensuring you address each area thoroughly. This process is designed to help you detect and understand potential issues, making it easier to act quickly:
Visual Examination
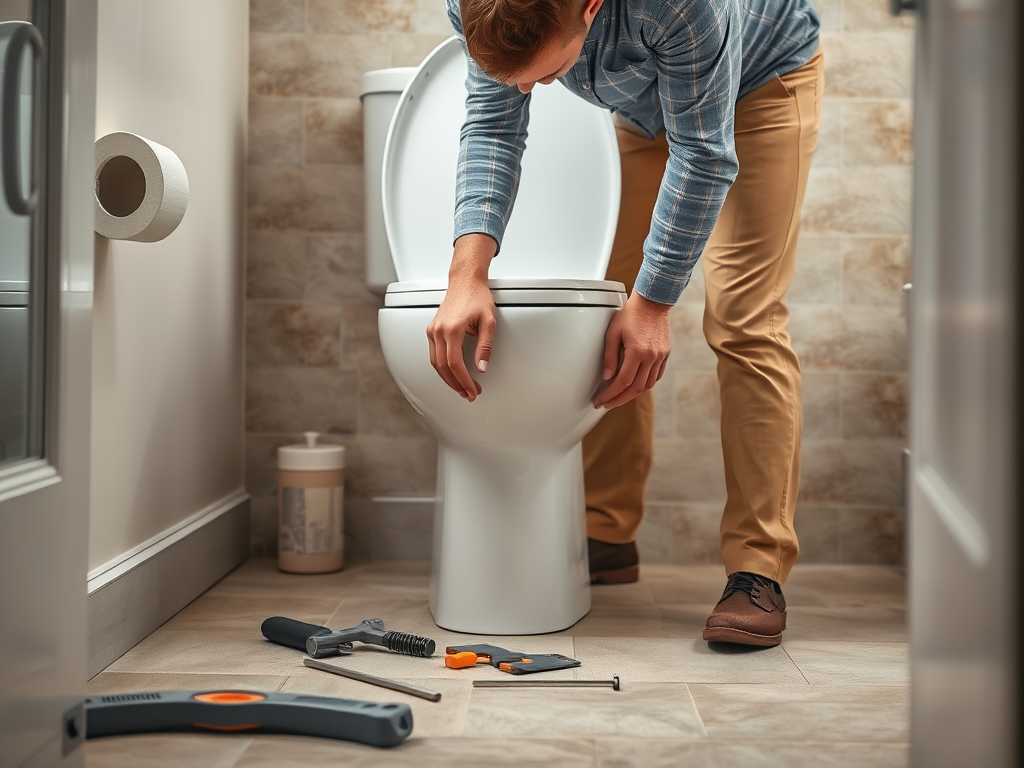
Start with a close visual examination of the toilet and its surrounding areas. Look for any obvious signs of damage, such as cracks in the porcelain or rusted bolts. Pay attention to any discoloration or moisture spots on the floor. If the flange, which connects the toilet to the drain, appears bent or damaged, that could be a source of instability as well. Take note of your findings, as they will guide your next steps.
Level Check
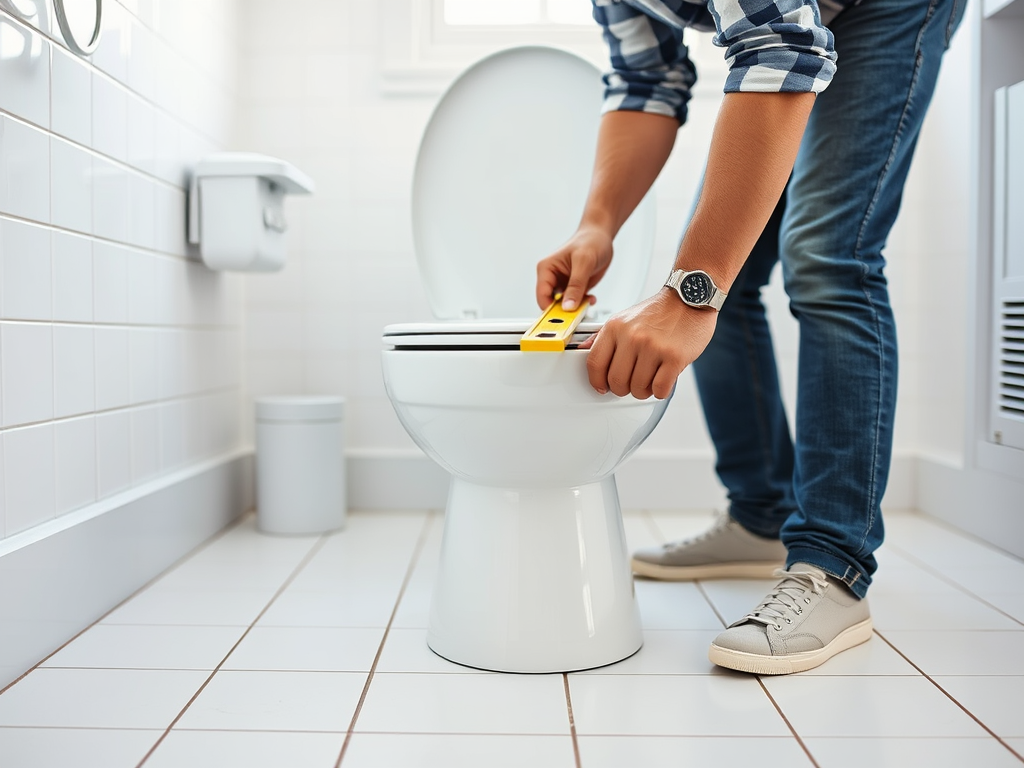
Next, grab your level and place it across the seat of the toilet. Observe whether the bubble sits in the center; if it tilts to one side, your toilet is not level. A tilted toilet can signify that the floor beneath it may be uneven or that the toilet itself has shifted. Mark any significant discrepancies for further analysis. This method is particularly effective for diagnosing stability issues.
Flushing Test
Finally, perform a flush test. Watch closely as the water flows and listen for unusual noises. Any wobbling during this process further indicates instability. If the toilet shifts even slightly, this is a clear sign that corrective measures are needed. Use your observations from the previous steps to inform your approach moving forward.
Fixing and Stabilizing Your Toilet
Once you’ve diagnosed the issue, it’s time to implement some fixes. Here are several actionable steps to help stabilize a toilet that has been identified as unstable:
Tightening the Bolts
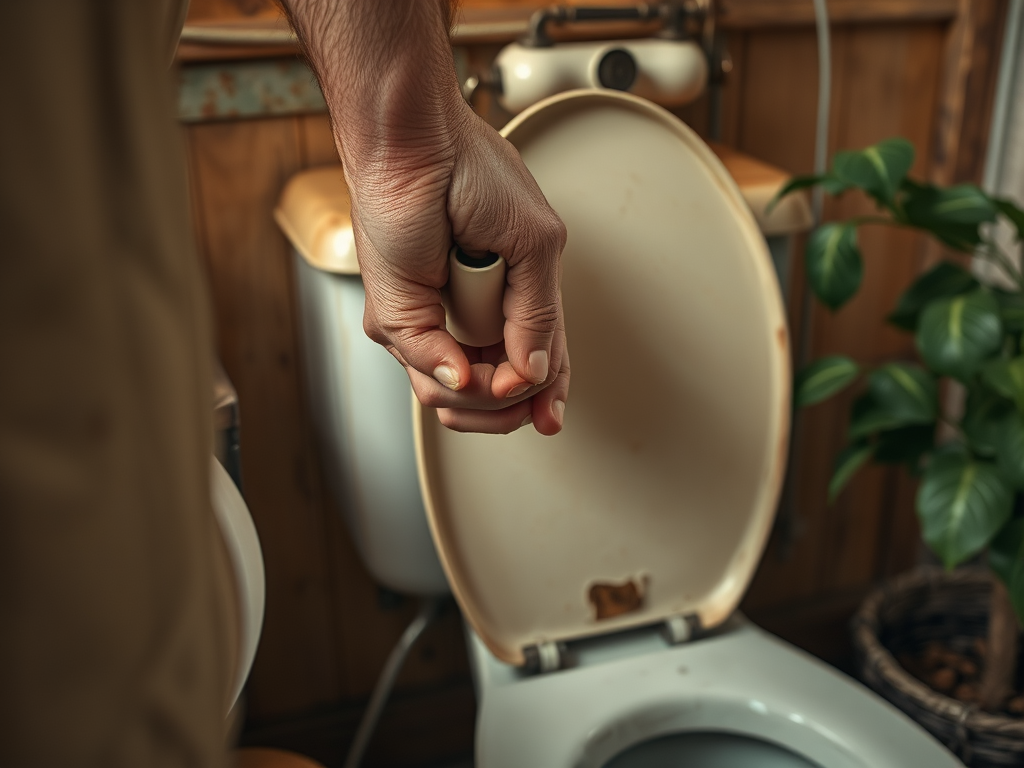
Begin by locating the bolts securing the toilet to the floor. These are typically hidden under caps on each side. Use your adjustable wrench to gently tighten them. Ensure not to overtighten as this might crack the porcelain. A snug fit is ideal and can significantly improve stability.
Utilizing Shims
If gaps remain after tightening the bolts, toilet shims come into play. These small, wedge-shaped pieces can fill in the spaces around the base of the toilet. Simply slide them in where needed until the toilet sits level and stable. Trim any excess shim material sticking out for a neat finish. Following this, consider caulking around the base for an extra layer of support.
When to Call a Professional
While many toilet repairs are simple, there are times when professional intervention is advisable. If you discover extensive water damage or persistent plumbing issues, it’s best to consult a plumber. Additionally, if the problem appears to be linked to the structural integrity of your flooring, professional guidance can help ensure a thorough fix. Never hesitate to seek expert advice when in doubt about repair complexities.
Conclusion
Regularly inspecting your toilet for stability is crucial in preventing larger drainage and structural issues down the line. By utilizing the steps outlined in this guide, you can conduct a comprehensive check and stabilize your toilet effectively. Remember, the combination of minor DIY fixes can lead to significant peace of mind and a healthier home environment. Don’t overlook this essential aspect of home maintenance; your toilet and the well-being of your household depend on it.
Frequently Asked Questions
- What should I do if my toilet is wobbling?
If your toilet is wobbling, first check for loose bolts and tighten them if necessary. If that doesn’t resolve the issue, consider using shims to stabilize it. - How often should I inspect my toilet?
It’s advisable to inspect your toilet at least once a year or whenever you notice any signs of instability. - Can I caulk around the toilet base for stability?
Yes, caulking can provide a waterproof seal and help prevent movement, but it should not be the only solution for stability. - What are toilet shims and how do I use them?
Toilet shims are small, wedge-shaped pieces that you can insert under the toilet base to level it out. Place them where there are gaps due to uneven surfaces. - Is it safe to repair a toilet myself?
Yes, many toilet repairs can be safely handled by homeowners. However, if you encounter complex plumbing issues, it’s best to consult a professional.


